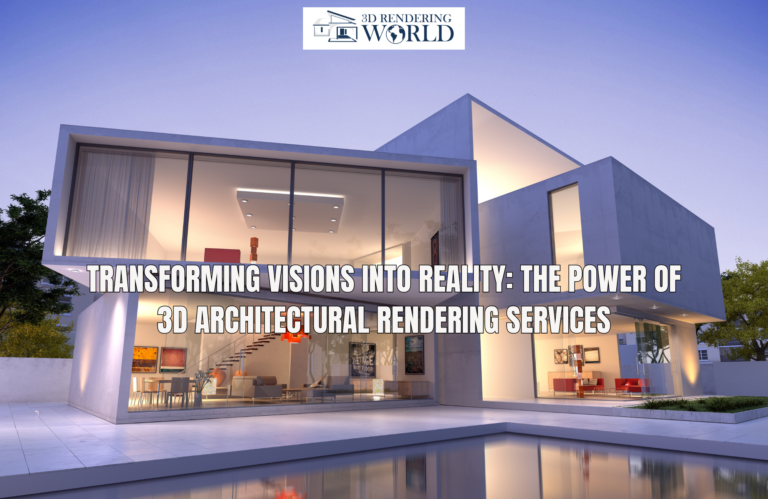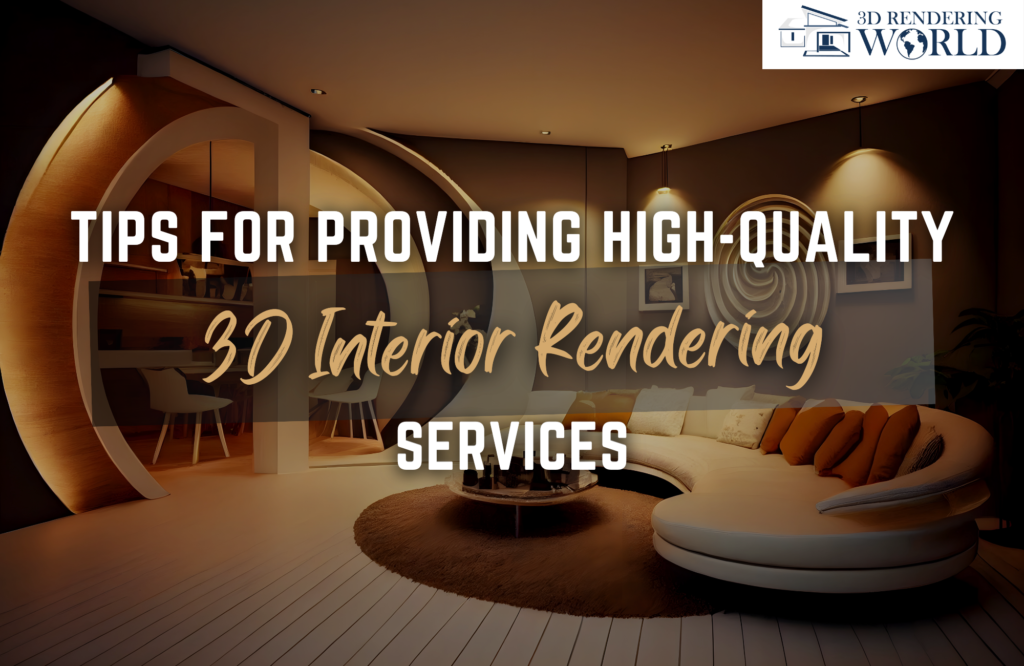
Introduction
Stunning 3D interior renderings can make or break an architectural design, real estate listing, or visual marketing campaign. With the rise of virtual staging and digital experiences in the post-pandemic world, the demand for high-quality 3D rendering services has skyrocketed. However, mastering photorealistic, artistic interior renderings that wow your clients is easier said than done. Multiple complex steps are involved – accurate 3D modeling, lighting, applying materials, setting up cameras, post-production, etc. So how can you ensure your 3D interior rendering business consistently delivers first-class visual content that dazzles your clients and helps them achieve their goals? This comprehensive blog provides actionable tips and best practices for conceptualizing, producing, and post-processing jaw-dropping 3D architectural visualizations.
1. Understand Your Client’s Needs
If you run an architectural visualization or 3D interior rendering business, providing top-notch services to your clients is crucial for success. Stunning 3D renderings can help architects, designers, and property developers market their spaces and vision effectively. As 3D interior rendering can be quite complex, having an efficient workflow and methodology is key to delivering excellent 3D interior renderings that wow your clients every time.
The first step is to understand exactly what your client wants by scheduling a kickoff call with every new client. On this call, you can learn about their design style and vision, understand what rooms/spaces they want rendered, identify if they have a color palette or theme in mind, clarify the output format needed (still images, panoramic renders, animated walkthroughs, etc.), and ask how they intend to use the final renderings. This understanding will provide you the context to match their expectations with your renderings.
2. Create Highly Detailed 3D Models
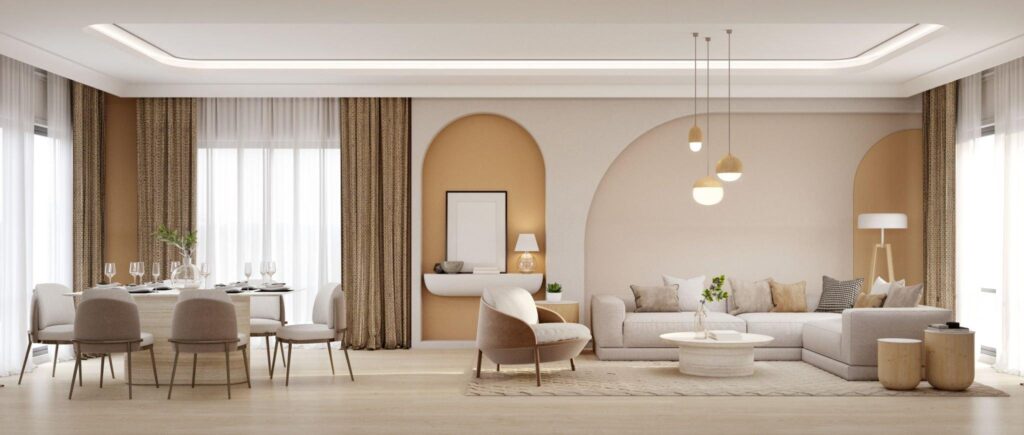
The foundation of quality renderings lies in crafting highly accurate and detailed 3D models. Use existing 2D/3D floor plans and elevations to model the interior space, include every small detail like lights, textures, and furnishings, use 3D scanning if needed to replicate intricate real-world architectural details, and refer to photographs of the space (if available) to match textures, lighting, colors, etc. Investing significant time in 3D modeling will pay off with enhanced realism in your final interior renderings.
3. Build a Library of Resources
Also, maintain an organized library of resources you can utilize for interior renderings, such as textures of various materials like wood, metal, granite, etc., furniture and accessory CAD models, plants, people/avatar models, HDRI images and skymaps to simulate realistic lighting. This will accelerate your rendering process as you won’t have to create every single asset from scratch. Resources like CGTextures, 3D Warehouse, HDRI Haven are invaluable.
4. Use Strategic Camera Angles

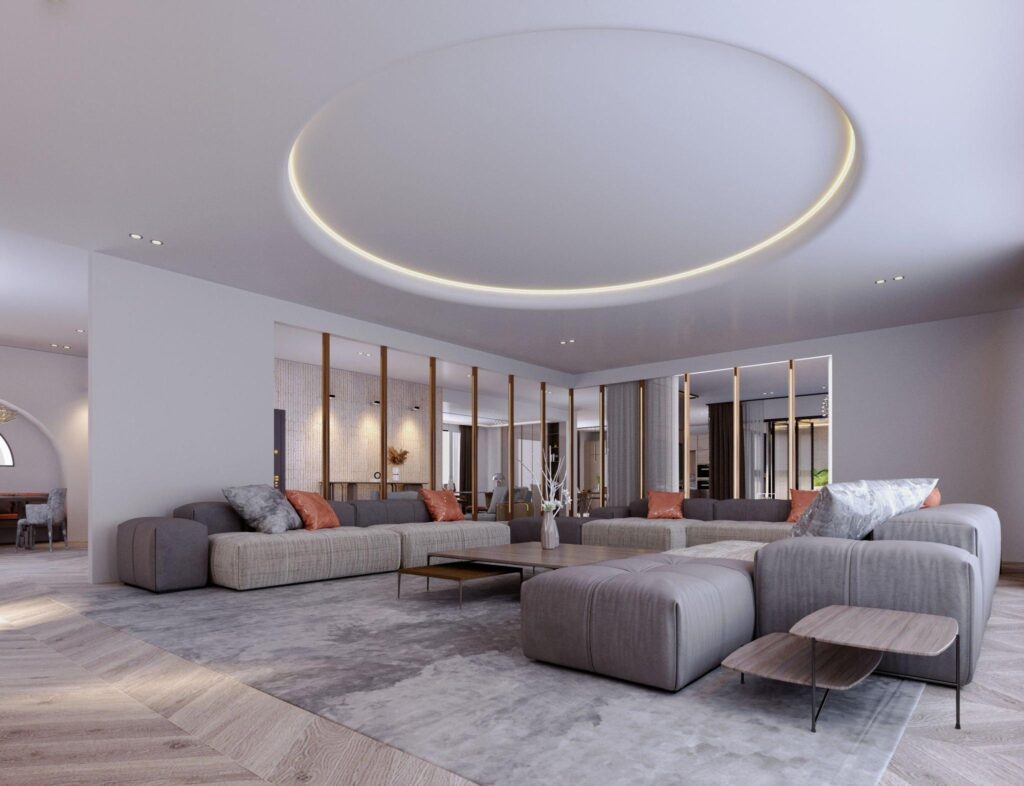
How you position the camera in your 3D scene dramatically affects the viewer experience. Capture the room’s focal points from an optimal vantage point, use wide-angle shots to showcase expansive spaces, employ tight shots to draw attention to specific details, strategically position cameras to showcase beautiful views through windows/openings, use diagonal, dynamic angles rather than just straight-on static shots, and render walkthroughs to provide an immersive perspective. Experimenting with camera positions relative to lighting and geometry is pivotal for impactful interior renderings.
5. Perfect Lighting and Materials
Realistic lighting and materials are what brings any 3D interior to life. Strategically place polygon lights to illuminate spaces naturally, use area lights behind openings/windows with portal lights, soften shadows to replicate real-world diffusion/bounces, set up exponential fog for atmospheric perspective, map detailed textures like scratches and bumps onto assets, use opacity, gloss, reflection maps judiciously per material, and leverage global illumination and raytracing for realism. Take your time perfecting lighting and materials – this step separates average renders from photographic hyperrealism.
6. Use Color and Contrast Strategically
Color selection and contrast levels influence the mood and atmosphere profoundly. Choose colors that align with the client’s brand palette, use warmer tones for cozy, inviting spaces, employ cooler tones for more sterile, clean aesthetics, boost contrast slightly to make details and textures pop, desaturate unnecessary brightly-colored objects that distract from the focal point, and complement neighboring materials using the color wheel principles. While colors that “look good” are important, also consider how they shape the desired style for the space.
7. Refine With Post-Production
Even after creating a beautiful base render, post-production editing can enhance your interior visualizations further. Strategically adjust brightness, contrast and vibrance, crop images or do panoramic stitches to recompose shots, selectively sharpen areas or add noise for more realism, add lens effects like bloom, flare, vignette for drama, include subtle grain for a cinematic film look, and create collages/montages from multiple renders. Subtle post-production refinements dramatically boost visual quality.
8. Offer Delivery Options
Also, provide flexible rendering output formats to clients – still images (JPG, TIFF, PNG) for reports/marketing, 360-degree panoramic renders for virtual tours, video walkthroughs/flythroughs for social media, and VR headset-ready simulations for immersive digital experiences. Support resolutions suitable for different usage, from 4K renders for large prints to mobile-friendly sizes.
9. Stay Up-To-Date on Trends
Moreover, continuously research architectural visualization trends and experiment with new styles – cinematic mood lighting, dynamic camera angles/movement, real-life footage integration, animation, and increased photorealism via neural networks. Pushing boundaries with new rendering techniques will make your visualizations stand out.
Conclusion
There are many nuances in producing striking 3D interior renderings that clients will love. Follow these tips around perfecting your 3D models, lighting, materials, camera work, colors and post-production. Obsess over the smallest details for photorealism. With practice and proficiency, you can deliver compelling visualizations to boost your reputation!
Frequently Asked Questions
It is important to understand the client's needs in order to create 3D interior renderings that accurately match their expectations and design vision. Discussing details like style, spaces to render, color schemes, output formats, and intended use enables you to tailor the renders specifically to the client's preferences. This understanding leads to higher satisfaction.
Investing significant time to model all details accurately, reference real-world architectural specifics, and incorporate photos results in enhanced realism and polish in the final 3D interior visualizations. The quality of renderings depends heavily on the underlying 3D models - the better the models, the better the renders.
Maintaining a library of 3D resources like materials, furniture models, lighting assets means you don't have to create everything from scratch. This accelerates your interior rendering process significantly allowing you to deliver projects faster. Resources from sites like CGTextures and 3D Warehouse are extremely helpful.
Strategic camera positioning highlights spaces beautifully, draws attention to focal points, and provides an immersive walkthrough perspective. Unique angles showcase spaces in exciting new ways compared to boring static shots. Experimenting with dramatic angles relative to lighting and geometry enhances the visual impact.
Realistic lighting using techniques like portal lights, raytracing, global illumination makes a huge difference in perceived quality. Detailed textures influence details seen. The accuracy of materials/lighting is what elevates average 3D renderings to photographic hyperrealism that wows clients.
Colors and contrast levels selected for an interior space set the overall mood and atmosphere. Warm, saturated tones make spaces cozy while cool, de-saturated choices appear sterile. Complementing materials using the color wheel principles enhances polished looks. Strategic colors are pivotal.
Post-production enhancements like brightness/contrast adjustment, strategic cropping, lens effects, film grain makes renders pop. Small touches add up in breathing additional life into 3D visualizations. Even after excellent base renders, subtle post-production takes quality to the next level.
Supporting varied output formats - JPGs, panoramas, VR simulations, videos etc allows clients to use renders in diverse applications like marketing, virtual tours, social media with optimized sizing. Different formats maximize the utility of delivered interior renderings for each client's unique needs.