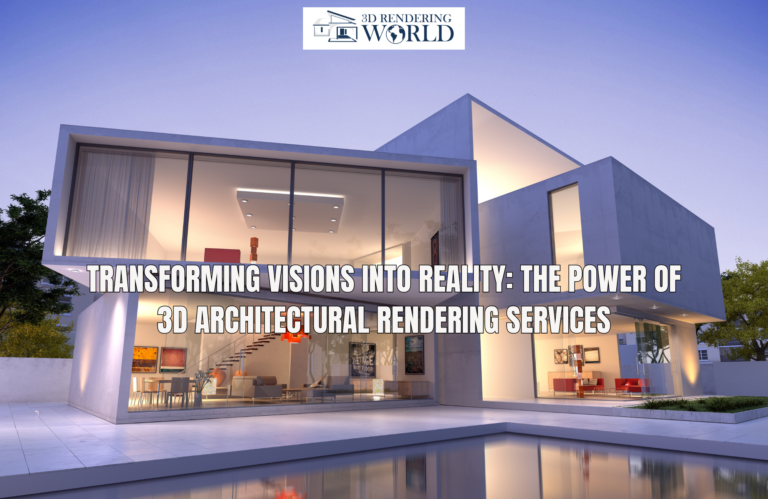
Introduction
With the advancements in technology and revolution in the architectural sector, designing photorealistic renders has become a norm and the most trusted way to represent architectural ideas to customers in a more realistic manner. Various sectors have adopted the technology since its invention, including architecture, animation, and gaming.
Getting the right tools is crucial for high-quality and real-time Rendering. The process demands mastering the right concepts and skills for a perfect final product. Experience is important to help reduce the time spent creating the rendered image.
What is 3D Rendering?
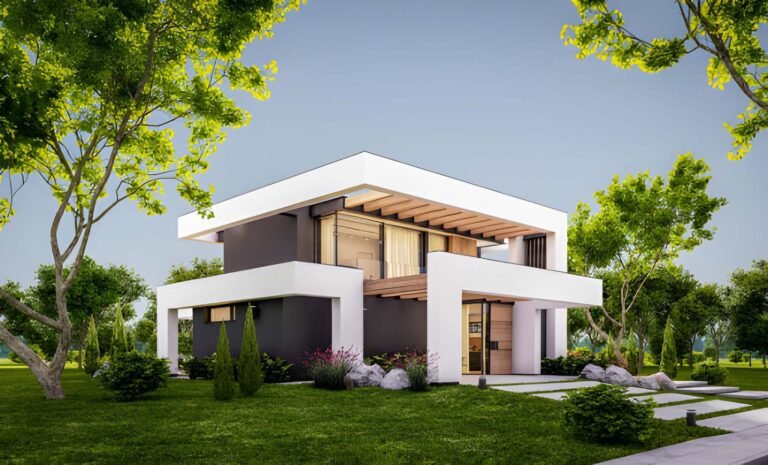
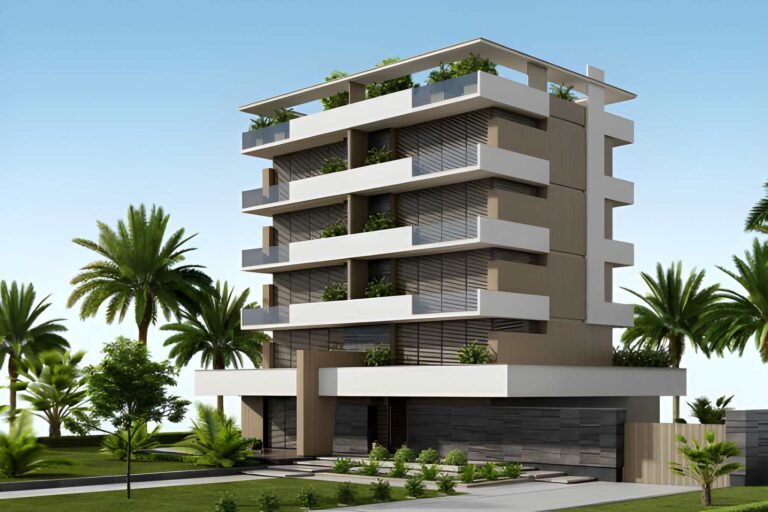
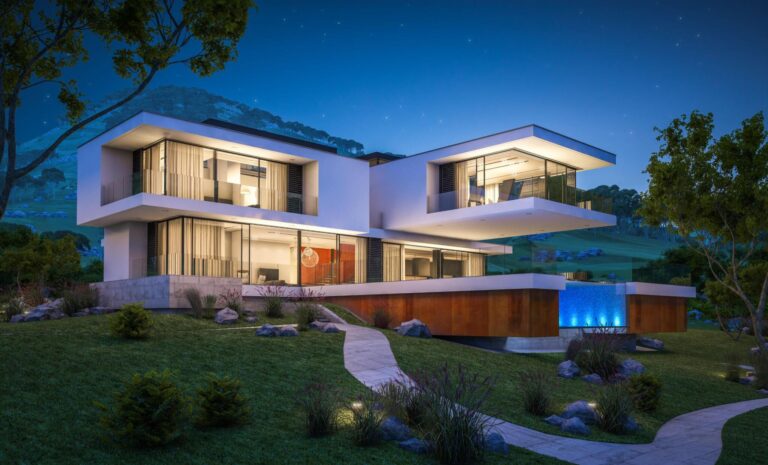
The question of what is 3D Rendering is common among many amateurs and those with little knowledge but need clarification on the subject. Understanding 3D Rendering is the first step to successfully navigating this sector. 3D architectural visualization entails realistically designing a 3D image from a 2D image and incorporating features like shadows, lighting, texture and color. The image highlights your design project’s key features and characteristics from all angles, allowing you to feel your house before it is implemented into a real-world project.
The technology is being adopted by many globally. Master essentials, know the right tools and devote your time in the technology to become a professional.
Mastering the Basics of 3D Rendering

Mastering the 3D rendering process streamlines and enhances the process of providing 3D rendered services. It would help if you needed a proper workflow for your innovative ideas. The process starts with designing a 3D model, incorporating essential features to make it realistic, refining it to visualize the atmosphere and commencing the 3D rendering work.
Creating 3D models entails merging geometric shapes of your ideas to create a picture of the final product. 3D model manipulation involves adding features like materials and texture to your render for a photorealistic look. When refining, incorporate colors and artificial lighting to your render to make the final result more presentable.
Understanding the Purpose of Your 3D Rendered Project
3D Rendering is commonly used in the video game sector, film industry, design and real estate sectors. 3D Rendering video games provide special effects and create realistic surroundings with human-like characters.
The technology also significantly impacts video games, especially those not 8-bit 2D scrollers. Those films with the 8-bit 2D scroller need 3-dimensional Rendering during production to create the right environment and add special effects that align with specific events.
In the architectural sector, 3D designers and architects use 3D visualizations to create and market their rendering projects to potential customers. These images explain to customers what the final render is expected to look like and showcase every building feature from camera angles.
Discover the Ideal Rendering Software and Achieve Mastery

Understanding 3D rendering software tools is integral to 3D artists. Master their purpose and how they are used to your advantage in creating quality renders.
Be keen when choosing a rendering tool for your needs. Get a tool that will help you achieve your rendering vision by implementing your ideas to a reality. This not only applies to 3D professionals but to every professional. Pick and familiarize yourself with the software before diving into the technical side. This streamlines your process of creating customer-appealing final products.
Steps to Making a Realistic Render
It all starts with understanding the basics of what 3D Rendering in the visualization process is, being conversant with vital 3D rendering tools, and later understanding the 3D rendering steps. Practice by creating simple 3D renders to master the basics and right skills, and once you are fit, start creating real-world rendering projects. Creating quality projects attracts more customers and increases your connections with prospective customers. Here is a walkthrough of the 3D rendering process used by professional exterior and interior designers:
1. Talk With Your Client About Their Needs
The first step is to discuss with your clients concerning their project. Let the conversation be open for both parties to give their views and ideas on their expectations about the project. During conversations, take notes and sketches of the ideas that will later be used to create the final product.
Use 3D renders to communicate your ideas effectively to customers. Your renders should be high-quaity, detailed, and meet the expectations of your clients. Focus on creating designs that showcase their aspects from the interior to exterior angles in a realistic manner.
2. Analyze the Project and Make a Plan

Use the sketches and notes to create a game plan. Be innovative in bringing your ideas to a reality. The final render should only include the best images from your sketches. Before opening a rendering software that will convert your 2D image to a 3D, you need to have a proper plan on implementation.
3. Start Modeling
After creating an outline of the object:
- Commit time to perfecting it.
- Incorporate necessary features, including texture and environments, until you get the final product you always had in mind.
- Be keen on details and ensure you include all features specified by your customer.
After you finish the basics, you can include other complex features that add other substantial textures to make your render truly captivating and real.
4. Work on Lights and Shadows
After Modeling, work on finessing your project and look for proper spots to add artificial lighting to your render. Also, include shadows with filters, reflections, and colors. Doing this right makes it hard to discern the 3D image from a real-world photo. Often, clients appreciate the realism of the image; therefore, your focus during 3D interior Rendering should be on satisfying them.
5. Render the Project Properly

It’s now time to present your render to customers. However, before this, it is important to understand various 3D rendering techniques and which work best with your ideas and tools. Often, Rendering is a complex and time-consuming technique that needs to be allocated enough time and concentration. When working, strive to meet your deadline, which will help you complete your projects on time—understanding various types of 3D Rendering, including interior and 3D exterior Rendering, helps make final modifications to your design if necessary.
Finally, make necessary adjustments until you are satisfied with the type of render you have created. After you are satisfied that it meets the customers’ expectations and communicates every detail effectively to customers, you are free to deliver
Conclusion
In conclusion, the adoption of 3D Rendering by several companies has become irreplaceable. Several sectors are expected to adopt this technique daily with the ongoing technological advancement. 3D realistic visualization has significantly impacted various industries, including video games, real estate, architecture, and interior design. In the architecture sector, for instance, the technology helps present design ideas in a photorealistic manner to customers.
Frequently Asked Questions
3D Rendering generates 2D images from a 3D digital model, providing a realistic visual representation of objects, scenes, or environments.
Commonly used 3D rendering software include Blender, Maya, Unity, and 3Ds Max.
Rendering simple 3D images takes less time compared to rendering complex images. Some factors impacting the process include hardware, the artist’s skills, scene complexity, and the technique used.
To achieve photorealistic results in 3D Rendering, consider factors like lighting, quality textures, natural colors, attention to detail, and camera settings, to name a few.
Common challenges for 3D Rendering include a steep learning curve, failure to get accurate proportions and details, and the need for more funds.